




Stop Surprise Renewals: Home Insurance Inspection Prep and Broker Help


A home insurance inspection is a review your insurer orders to check your property’s condition and confirm what it would cost to rebuild. The insurer pays for it, not you, and most homeowners don’t even need to be there. Outcomes range from no action at all to repair requests, a premium adjustment, or in rarer cases, a coverage denial.
TL;DR:
Roof condition and age, foundation cracks, and drainage issues are the most common red flags that can lead to premium increases or coverage denial.
Exterior-only inspections are more common for newer homes, while older properties may receive full interior evaluations, often photographed for records.
Proper preparation includes gathering paperwork, fixing minor issues, decluttering access points, and documenting recent repairs to strengthen your position.
Inspections are triggered mainly by policy issuance, renewal after long gaps, recent claims, high-value or older homes, and properties in hazard zones.
An independent broker can help dispute findings, coordinate repairs, and shop multiple carriers to improve outcomes after inspection reports.
Table of Contents
Home Insurance Inspection Basics: What It Is and Why Insurers Order One
A home insurance inspection exists to protect the insurer’s math, not to help you buy the house. That’s the biggest difference from a buyer’s home inspection, which digs into everything from foundation settling to whether the dishwasher runs. Insurers care about two things: what it would cost to rebuild your home from scratch, and what could go wrong that leads to a claim.
Insurers use these inspections to estimate rebuild costs and evaluate risk factors like your roof’s age, your wiring, and any visible hazards on the lot. Think of it less as a health checkup and more as an actuary’s site visit.
Who actually shows up varies. Sometimes it’s an employee of the insurance company. Sometimes it’s a third-party inspection vendor the insurer contracts with. Increasingly, it’s nobody at all. Many carriers now pull roof condition from aerial or drone imagery and skip the in-person visit entirely, especially for newer homes with clean claims histories.
The Exterior and Interior Checklist Inspectors Actually Use
Inspectors work from a fairly consistent list, whether they’re walking the property or reviewing photos. On the exterior, they’re checking the roof’s age and material condition, gutters and drainage, siding and paint, foundation cracks, trees or branches hanging near the structure, driveways and walkways, and chimney condition.
Inside, when an interior inspection happens, they’re looking for:
Water stains on ceilings or walls that suggest past or ongoing leaks
Visible plumbing issues, including corroded pipes or slow leaks under sinks
HVAC system age and maintenance condition
Electrical panel age and wiring type (aluminum or knob-and-tube wiring is a common flag)
Attic condition and insulation levels
Working smoke and carbon monoxide detectors
Signs of pest activity, particularly termites or rodents
Not every inspection goes inside your house. Exterior-only inspections are far more common for newer homes, while older properties or homes missing recent documentation are more likely to get the full interior walkthrough. Inspectors typically photograph everything they flag, and that photo record becomes part of your file, so what they see is what gets written up. There’s no negotiating after the fact if a photo shows a sagging gutter or a cracked foundation wall.
How to Prepare for Your Inspection Before It Happens
A little prep work goes a long way toward avoiding surprises. Work through this before the inspector’s scheduled visit:
Pull your paperwork together. Gather repair receipts, contractor invoices, any prior inspection reports, and your home’s floor plan or square footage documentation.
Knock out the easy fixes. Replace missing or dead smoke and CO detectors, clear debris from gutters, trim branches touching the roofline, tighten loose deck railings, and patch small visible leaks.
Clear the path. Declutter areas the inspector needs to access, especially the attic, basement, and electrical panel, and label your breaker box if it isn’t already.
Document your own baseline. Take time-stamped photos of your roof, siding, and any recent repairs, and hold onto contractor estimates in case you need to dispute a finding later.
A pre-made home inventory with dated repair records gives you a stronger position if the insurer’s findings don’t match reality. A printable home maintenance checklist can help you stay ahead of the next one, too, since most of what trips up homeowners is deferred maintenance rather than a real structural problem.
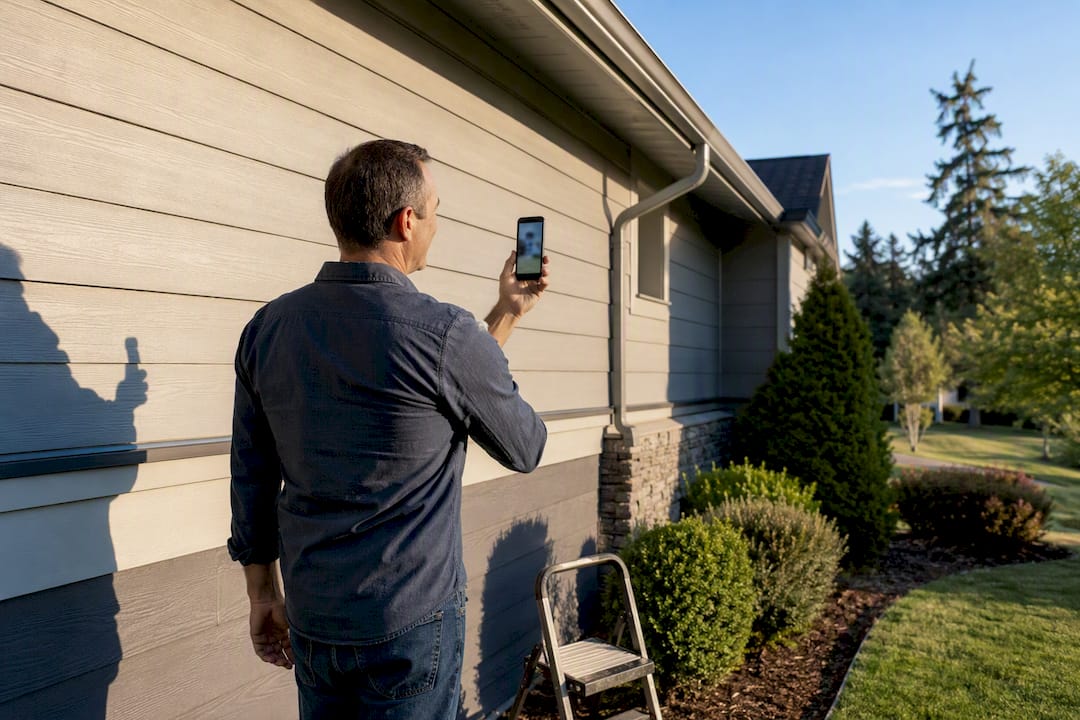
Pro Tip: Walk your own exterior with your phone camera the week before the inspection. If you can spot a problem from the sidewalk, so can the inspector, and it’s cheaper to fix it yourself than to have it flagged.
The Red Flags That Raise Premiums or Get Coverage Pulled
Some findings are cosmetic. Others change your rate or your renewal status entirely. The issues that show up most often as trouble include a worn or aging roof, outdated electrical panels or wiring, foundation cracks, evidence of past or active leaks, large branches overhanging the roof, pest infestation, and missing smoke or CO detectors. Roof condition, foundation issues, and drainage problems are the most commonly cited culprits in inspection reports.
The insurer’s response usually falls into one of a few buckets:
A repair window, often a repair window of a few weeks to a couple of months, to fix the issue before renewal
A conditional renewal tied to proof of repair
A new exclusion added to your policy for that specific risk
A premium increase reflecting the added risk
Cancellation or a declined renewal, in the more severe cases
If you get flagged, move fast. Get a contractor estimate, keep every receipt, and loop in your broker before you assume the worst. A roof replacement is often the single biggest line item behind a coverage dispute, so understanding what your policy actually covers there matters more than most homeowners realize.
After the Inspection: The Report, the Timeline, and How to Push Back
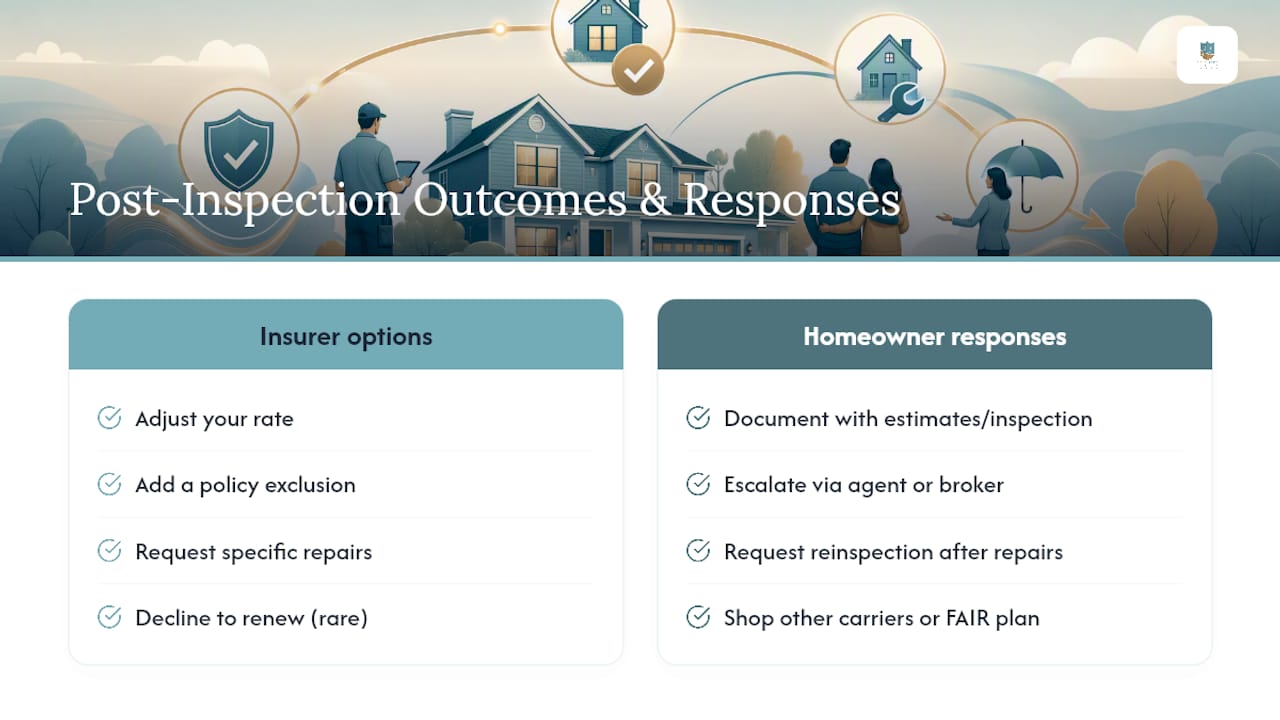
Most insurers send a written report within a few weeks of the inspection. It typically lists what was observed, what needs correcting, and any deadline attached to those corrections. From there, the insurer applies the findings in one of several ways: adjusting your rate, adding a policy exclusion, requesting specific repairs, or in rare cases, declining to renew.
If you disagree with a finding, you’re not stuck. Document your case with contractor estimates or your own inspection, then escalate through your agent or broker rather than the call center. You can also request a reinspection once repairs are complete, which resets the clock on any pending decision. If a carrier still won’t budge, shopping other carriers or a state FAIR plan is usually the next move rather than going without coverage.
When You’re Most Likely to Get Inspected
There’s no fixed schedule insurers follow across the board. Inspections tend to cluster around a few triggers: issuing a brand new policy, renewal after a long gap without one, a recent claim, an older or higher-value home, or a property in a hazard-prone area like wildfire or hail zones. If none of those apply to you, don’t expect a knock on the door. Either way, staying ahead on routine maintenance is the best insurance against a bad surprise whenever your turn does come up.
Why an Independent Broker Changes the Outcome
Most homeowners try to handle a bad inspection result alone, and that’s usually where things drag out. A broker’s real value shows up after the report lands: pulling together your repair receipts, pushing the carrier for a reinspection date, and if the carrier still won’t budge, shopping the other option instead of leaving you to negotiate solo.
South Lake Agency Insurance Brokers works with more than 20 carriers, charges no broker fees, and has kept a 97.3% client renewal rate doing exactly this kind of legwork. If your inspection turned up something minor, you can probably handle it yourself. If it turned up a repair deadline or a nonrenewal notice, that’s the point where a broker earns their keep.
— Andrew
Get Ahead of Your Next Inspection Result
South Lake Agency Insurance Brokers gives you a real alternative to sitting on hold with a call center after a rough inspection report. We shop your situation across more than 20 carriers, coordinate directly with the inspector’s findings, and help you put together the documentation that turns a denial into a reinstated policy, all without charging you a broker fee.

If your inspection flagged a roof, a panel, or anything else that’s now affecting your renewal, don’t wait for the deadline to catch you off guard. Get a homeowners insurance quote started today, or if you’re buying a new place, check out our new homebuyer insurance guide before your first inspection even happens. Either way, reach out to a South Lake Agency Insurance Brokers agent and let’s sort out what your specific report actually means for your rate.
Sources
For homeowners who want to verify the details here directly: NerdWallet’s breakdown of home insurance inspections covers costs and outcomes. Plymouth Rock’s inspector checklist details what gets examined. U.S. News’s explainer covers timing and denial risk. A home inventory guide helps with documentation prep.
This article is general information, not a substitute for advice from a qualified financial advisor. Consult a qualified financial professional about your own circumstances before acting on anything here.
Recommended
Comments